Import external images#
Import images#
When you work with a Texture 2D or an Animation 2d, you can import external images stored on your computer thanks to the option “Import image” in the top menu “File”.
Note
With a Texture 2D, you can load only one image at the a time as an additional layer. With an Animation 2D, you can load an image sequence within the same layer.
In the area on the right, you hold LMB to pan the result or hold RMB to zoom in. You can also use the Zoom option at the bottom left.
Positioning#
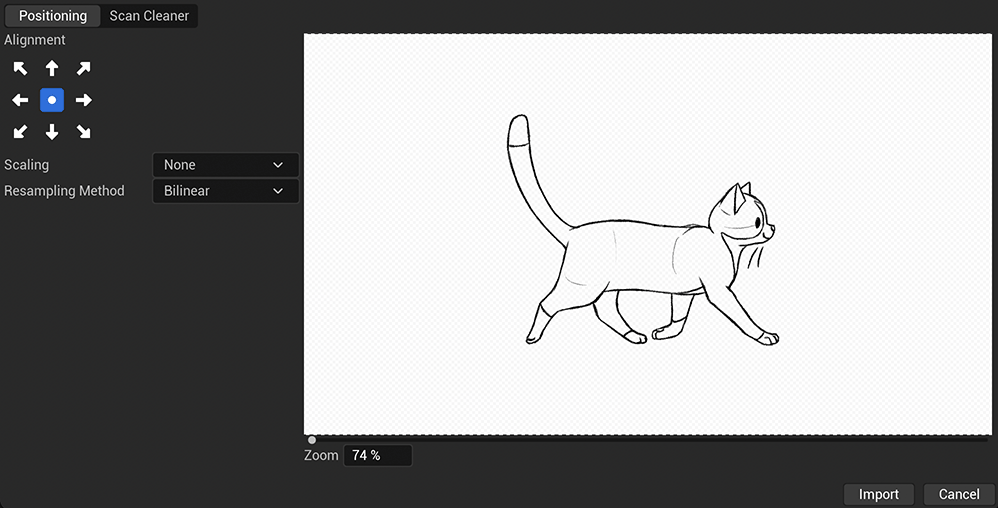
This interface is used to position your image according to the definition of your canvas.
Alignment#
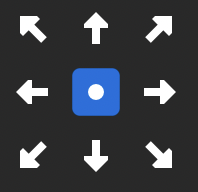
Click on one of the arrows (or the centered dot) to change the alignment of your image(s):
Scaling#
None: will load the image without any change. If the image is larger than the canvas, it will be cropped. If it’s smaller than the canvas, there will be empty pixels around.
Scale: will scale the image fill the canvas. Pay attention to the ratio between the image and the canvas, for it can distort the result.
Scale and fit: will scale the image to fit the canvas without distorting the ratio.
Resampling Method#
Choose wisely especially if you selected Scale or Scale and fit in the Scaling option.
Nearest Neighbour: no blur applied to pixels.
Bilinear: applies a bilinear resampling to add some blur around pixel and make the result more appealing to the eye.
The following modes currently have no use yet:
Trilinear
Anisotropic
Anistotropic Linear
Scan Cleaner#
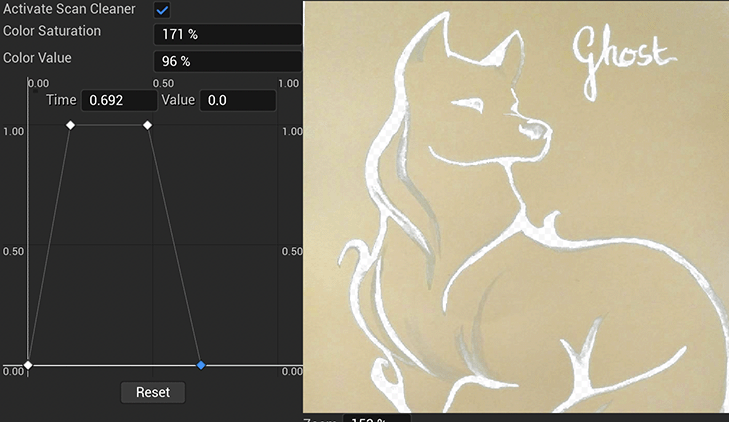
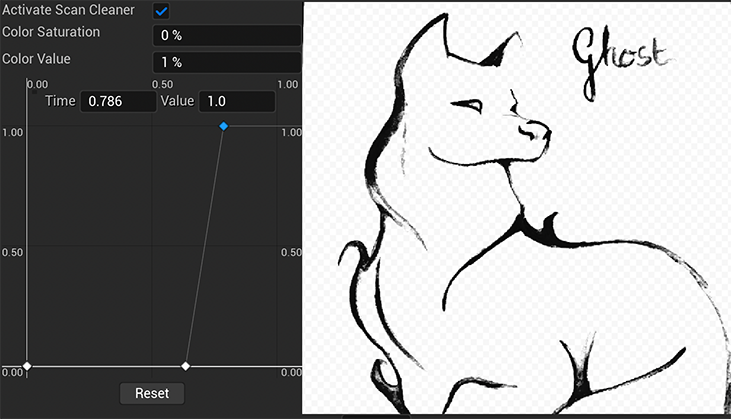
This tool shall be used with images made on paper or white canvas, like traditional animation, watercolor paintings, oil paintings… Its purpose is to remove the white background from the original image and have a color control before importing the image.
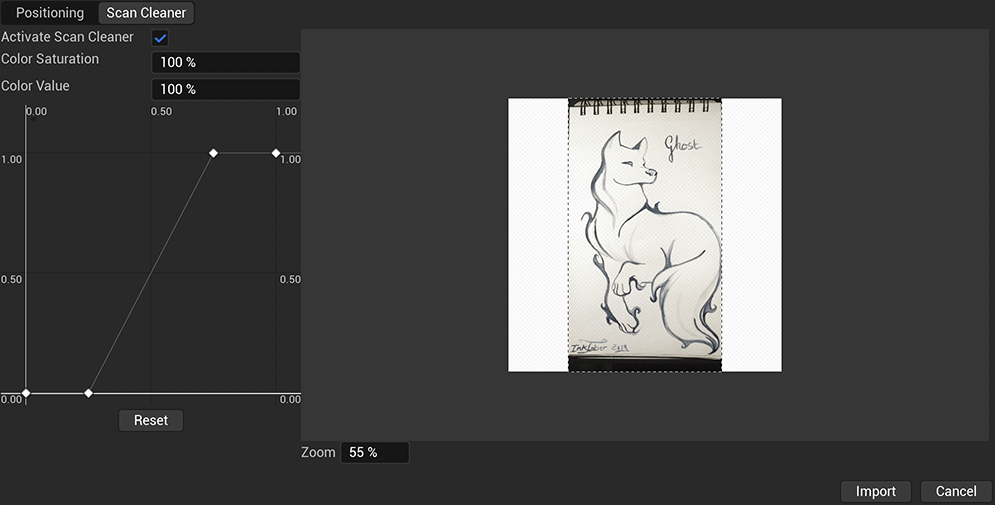
Activate Scan Cleaner: tick the box to activate the feature.
Color Saturation: change the staturation of the image. 100% is to keep the original colors from the image, 0% will turn it to black and white. Beyond 100%, you will saturate the colors.
Color Value: change the color value to make it darker (0%) or lighter (beyond 100%). Let it at 100% to keep the original value.
The graph underneath will let you play with the translucency of the image. After moving some keys with LMB, you will enable 2 additional values: Time (translucency) and Value (shade).
In the graph, you can add keys with RMB:
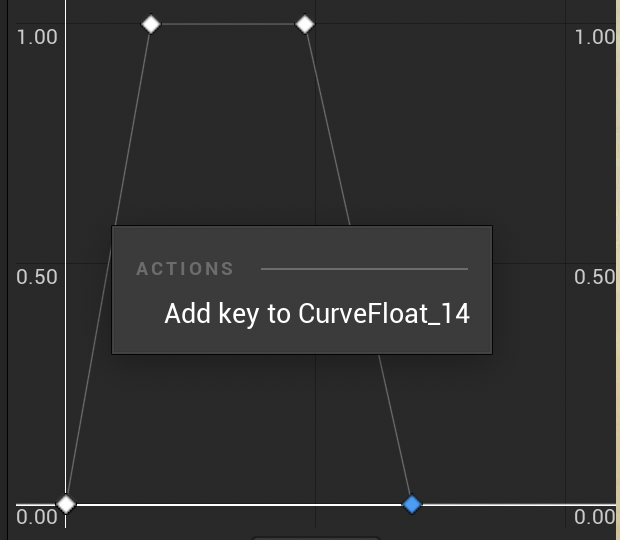
If you RMB on a key, you can also change the interpolation of the key.
Tip
Hold LMB of the stylus to select several keys if you need to change their interpolations.
The reset button under the graph allows you to retrieve the default configuration.
Different results you can achieve with the scan cleaner: